
Why you should use React devtools standalone
Most people using React have probably heard of their corresponding debugging environment called react-devtools. React-devtools is actually developed alongside the main react project and even is part of the same Github repository. The best know version is probably the Google Chrome extension but there are defintly reasons to try the standalone version.
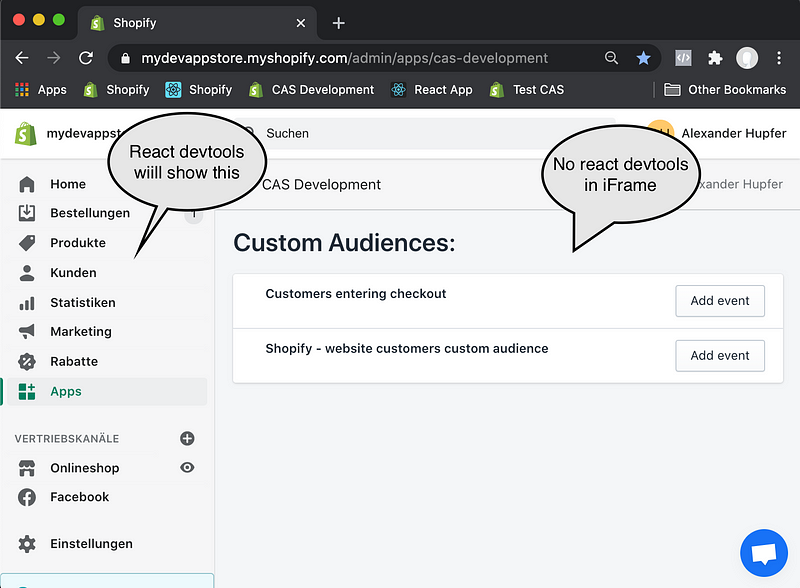
There are mainly two usecases where you want to use the standalone version, and not the browser extension:
- You are debugging a project inside an iFrame e.g. embedded Shopify app
- You are using a browser that does not have an react-devtools extension.
If you have answer yes to one or more of the above use cases, react-devtools standalone is the way to go:
Installation
Install the react-devtools package. Because this is a development tool, a global install is often the most convenient:
# Yarn
yarn global add react-devtools

# NPM
npm install -g react-devtools
Now find the index.html file of your react app (if you used create-react-app it will be in located in <projectfolder>/public/index.html) and add the marked line like this:
<!DOCTYPE html>
<html lang="en">
<head>
http://localhost:8097
<meta charset="utf-8" /><link rel="icon" href="%PUBLIC_URL%/favicon.ico" />
...
Usage
Now since you modified and saved your index.html file, start react-devtools from your shell by simply invoking:
react-devtools
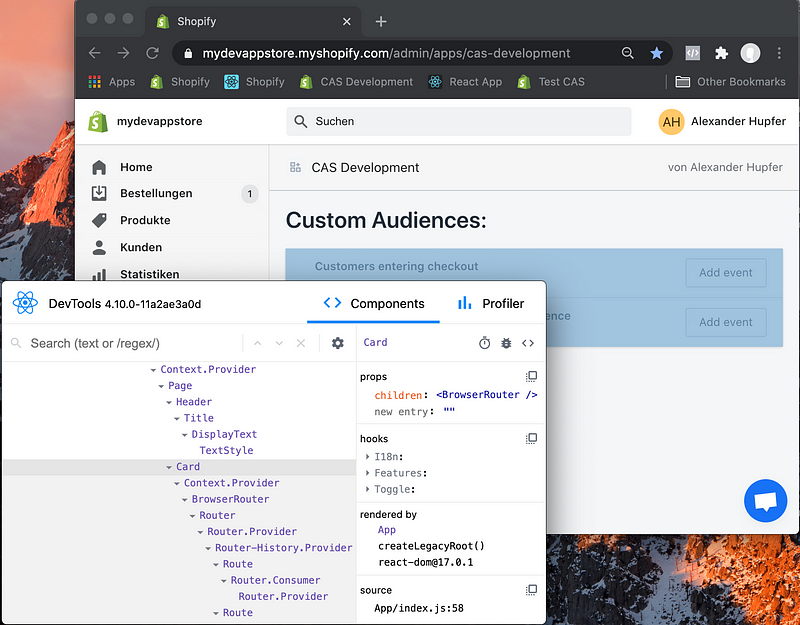
Now fire up your react-app in the browser and devtools should be ready to go:
I hope you found this article helpful. If you have any questions or suggestions please leave a comment.